By Pat Muller, Ready 2 Respond Trainer
Drying out water damage is never a “set and forget” process. The initial setup of drying equipment is only the first step, as temperature and moisture levels on-site are dynamic. Regular assessments and adjustments are essential for ensuring that wet materials dry thoroughly and efficiently.
When facilities teams know how to actively monitor conditions then make modifications for an optimal drying environment, they can maintain full control of water damage projects.
Monitoring Progress: What to Look For
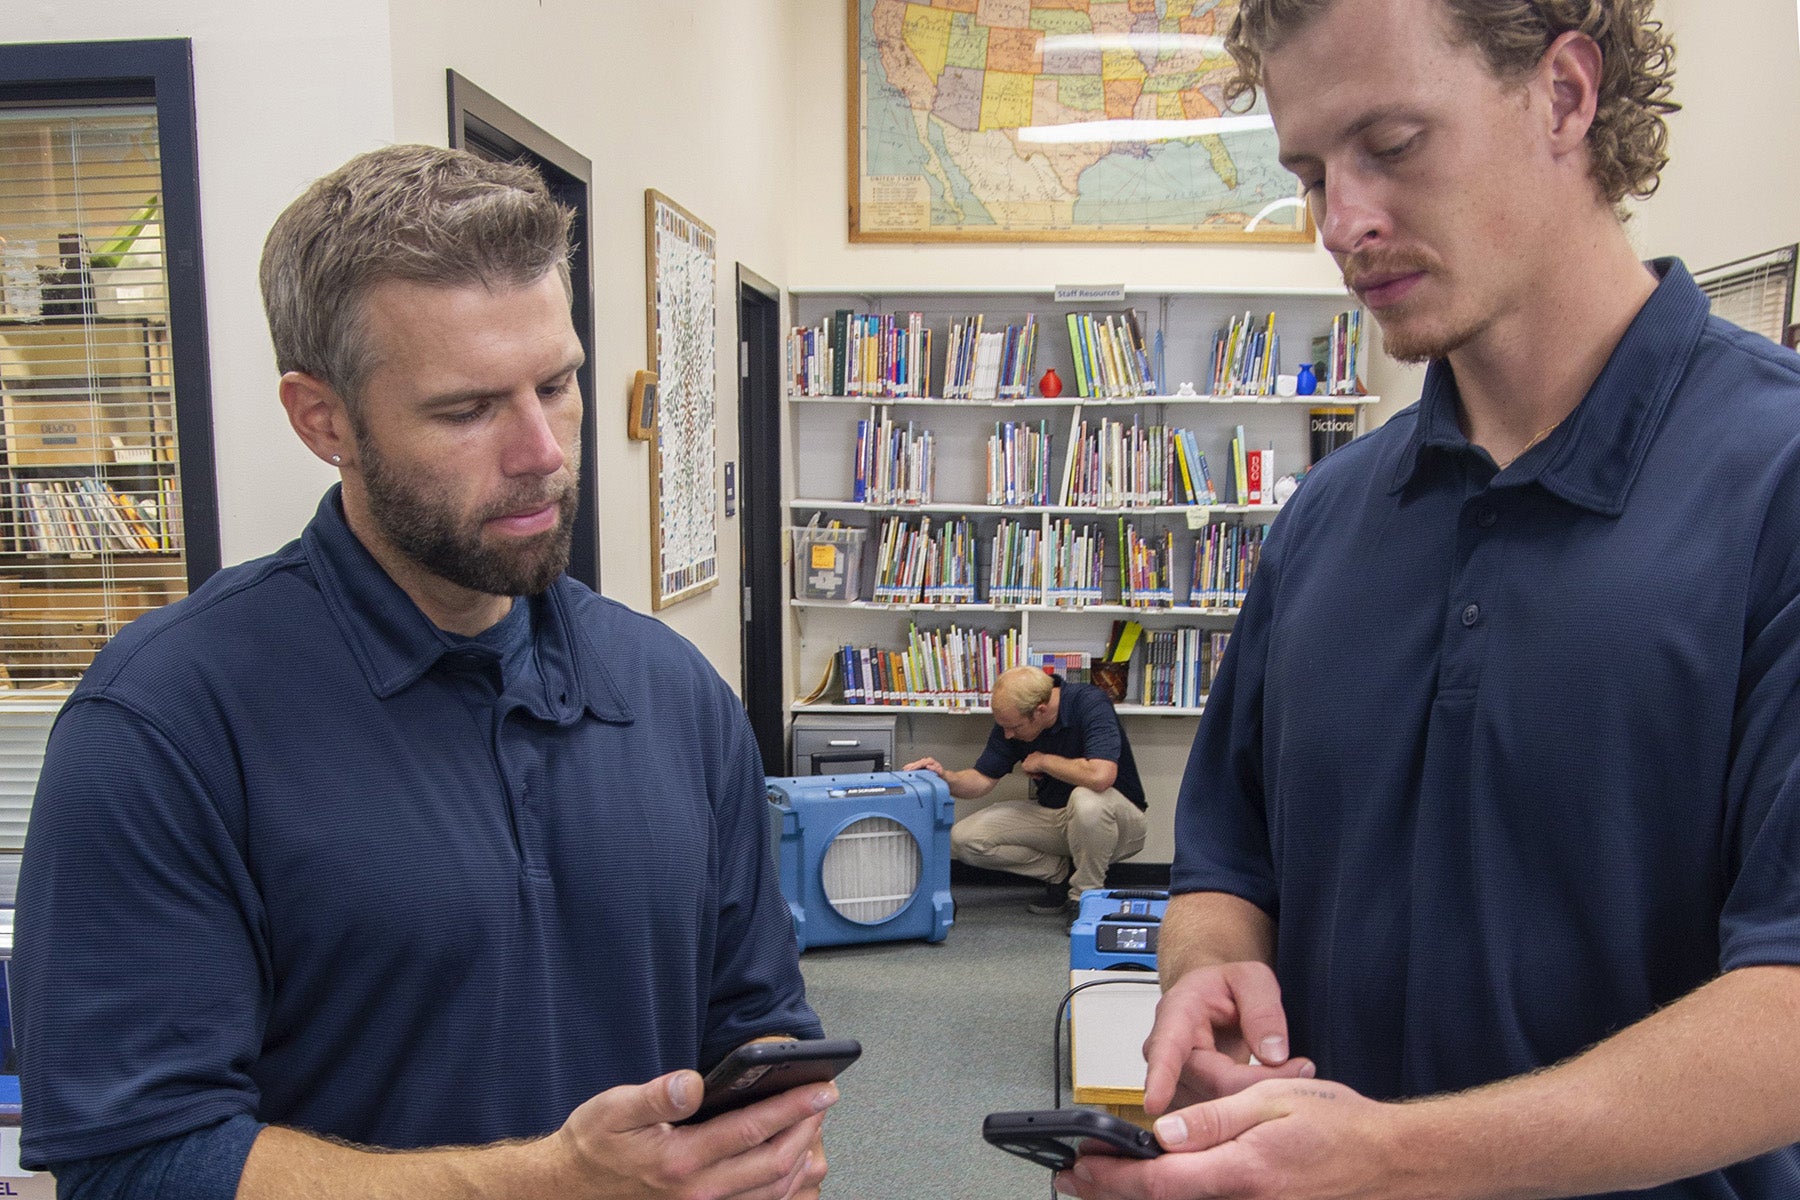
First, for effective drying, the affected area should be at least 70°F with a relative humidity below 40% (after the first day – see “Material Is Drying” below). Check these numbers regularly throughout the process – they are easily accessible on the Home screen of Dri-Eaz® dehumidifier touchpad controls.
Use moisture meters to document and evaluate drying progress daily. With a good monitoring system in place, facilities staff can quickly identify when adjustments are needed. Here’s a quick guide to tracking drying outcomes:
- Material Is Drying: Continue with the current approach if materials show steady progress. Remember that the moisture level change over time is what’s most important. Also note that temperature and humidity levels typically increase during the first 24 hours after drying equipment placement, but after that, the humidity in the affected space should begin to decrease.
- Material Has Dried: Have materials reached their dry standard? If so, equipment can be repositioned to target other areas or removed from the site.
- Material Is Not Drying: Modify the approach to increase efficiency if no significant drying progress has occurred. This may mean adjusting equipment placement or adding more drying power.
Evaluate Risks if Progress Stalls
If materials are not drying, assess for new risks that could arise with extended wet conditions. For example:
- Contamination: Prolonged moisture can lead to mold and other contaminants. If contamination is found, consider whether drying is sufficient or if removing the affected materials is necessary.
- Structural Damage: Extended exposure to moisture may cause materials to warp, swell, or stain. Determine if these issues can be effectively repaired or if replacement is better.
- Cost Efficiency: Adjusting the setup might mean deploying additional equipment, but removal and replacement of materials may be the more economical choice in some more extreme cases.
Adjust Equipment for Optimal Results
Because drying conditions constantly change, the equipment setup must be flexible. Some ways to adjust as conditions evolve:
- Reposition air movement: Ensure airflow targets the wettest areas and adjust airmover placement based on daily moisture level inspections.
- Reduce equipment as needed: When materials reach their dry standard, safely remove unnecessary equipment, tidy cords, and document the setup changes with photos.
- Add or switch equipment as needed: As conditions change, more or alternative equipment may be required to maintain efficiency – for example, airmovers with higher CFM or dehumidifiers with increased water removal capacity.
Keep Stakeholders Informed
Finally, be sure to communicate regularly with users of the affected space – especially if the project encounters delays or complications. Addressing questions like “When will it be dry?” can help manage expectations. A standard response – “All materials are drying as expected, and we’ll provide an update tomorrow” – ensures transparency while allowing for necessary adjustments.
If you have questions, please reach out to our Ready 2 Respond team at 888-208-5401 or ready2respond@r2rprogram.com. For more drying tips, follow us on LinkedIn or subscribe to our Facility Insights newsletter.

Share:
How Dehumidifiers and Airmovers Team Up for Effective Drying
Case Study: University of Tennessee Knoxville’s Water Damage Response Transformation